A plaster ceiling crack can be annoying, but don't despair! We have the answer to fix it and restore your ceiling to its former glory. Here are the steps you need to take.
Understand the cause. It could be the settling of the building, moisture exposure, or natural wear and tear. Identifying the root cause will help you decide the best solution.
Get ready. Take out any crumbling plaster around the crack using a utility knife or chisel. Make a clean surface for repair.
Fill the crack. Choose a quality product made for plaster ceilings and spread it over the crack with a putty knife. Then smooth out any excess compound.
Finish. Let the compound dry, then sand and refine. Apply a coat of primer then paint to match the ceiling. And you're done!
Explore: What Is Lime Plastering
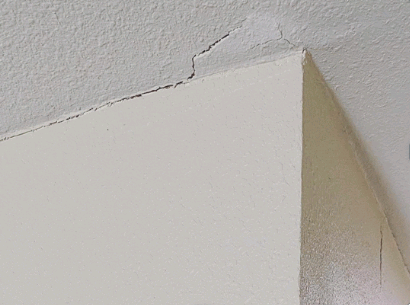
Understanding Plaster Ceiling Cracks
Plaster ceiling cracks can be a common issue in many homes. Understanding why and what type of cracks they are is vital to fixing them. Here's some help:
| - Settling, temperature changes, and structural movement can cause cracks. |
| - Hairline, fissures, and sagging or bulging areas are types of plaster ceiling cracks. |
| - Hairline cracks are easy to fix. |
| - Larger fissures may need joint compound or replacing sections of the plaster. |
| - Sagging or bulging can mean underlying issues - get a pro to check. |
Not all cracks need urgent attention. Check the severity and cause to decide if it's cosmetic or serious.
Pro Tip: Before repairs, clean and prepare the area. Remove loose debris and apply a primer for a strong bond between the patching material and existing plaster.
Tools And Materials Needed For The Repair
Repairing plaster ceiling cracks requires the right tools and materials. Here's what you'll need:
- Plaster and joint compound to fill in the cracks.
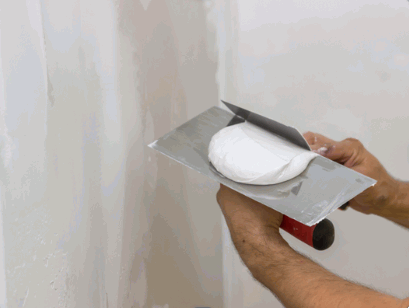
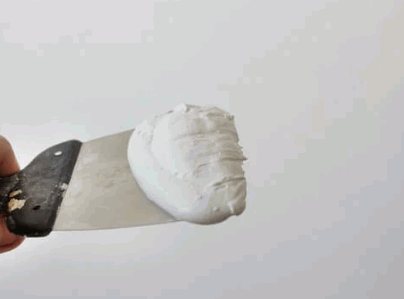
- Putty knife to apply plaster or joint compound.
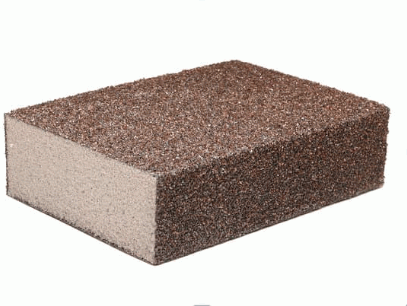
- Sanding block to smooth out rough edges.
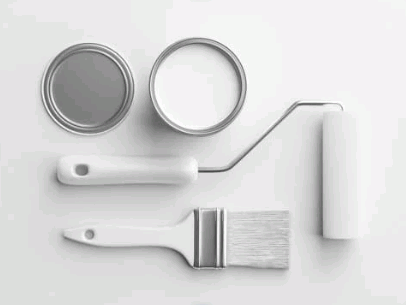
- Paintbrush and roller for a fresh coat of paint.
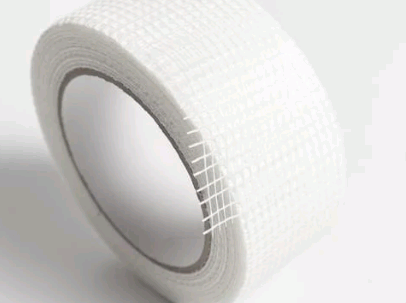
- Drywall tape for larger cracks.
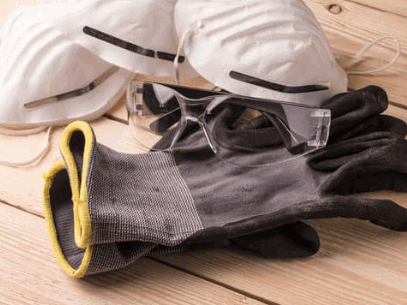
- Dust mask and safety goggles for protection.
Plus, get a ladder or step stool to access the ceiling. Follow safety guidelines for a successful repair.
History buffs, listen up! Plaster has been used for centuries, from Ancient Rome to modern times. Its importance is unchanged - repairing plaster ceiling cracks is key to keeping them strong.
Now you know what tools and materials you need. So get started and restore your beautiful plaster ceilings. Patience and effort will help you fix those pesky cracks in no time!
Preparing The Cracks For Repair
- Examine cracks closely. Inspect them to determine their width and depth. This will help plan repairs.
- Clean cracked area. Use a brush or vacuum cleaner to remove loose plaster, dust, and debris. This ensures better adhesion and durability.
- Secure loose pieces of plaster with a putty knife or scraper. Ensure only firmly attached plaster remains.
- Create a V-shaped groove with a utility knife or chisel. Smooth edges and go slightly deeper than the crack's depth without damaging the surrounding plaster.
- Apply an adhesive primer along each crack's groove. This serves as a bonding agent, improving adhesion.
- Fill in with patching compound. Use a putty knife or trowel, to ensure smoothness and evenness. Allow ample drying time before finishing touches.
Renovating an old house requires commitment. The aged plaster needs to be handled with care. Patience and precision are key when creating the V-shaped groove applying primer and patching compound. The end result? A seamless restoration that blends in perfectly.
By preparing cracks diligently and following this guide, you can achieve a beautiful outcome that restores your ceiling's beauty while ensuring its longevity.
Filling The Cracks
For fixing and filling cracks in your plaster ceiling, there are a few steps to take. The right materials and techniques can bring it back to its previous state.
Clear the area around the cracks. Use a soft brush or vacuum to remove any loose plaster or debris. This will help the filler stick better and create a smooth finish.
Mix the filler based on the manufacturer's instructions. Different fillers may require different amounts of water or other additives. Blend it until it's creamy.
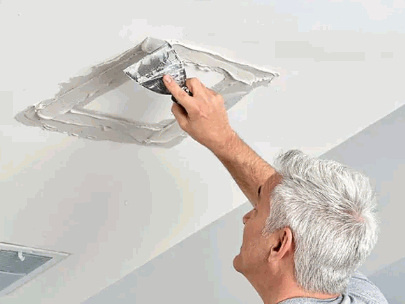
Using a putty knife or scraper, spread the filler onto the cracks in thin layers. Start from one side of the crack and work your way to the other. This helps avoid too much filler coming out of the crack once it's dry.
Let the filler dry completely. This usually takes a few hours, but it may vary based on humidity and the type of filler. Don't rush this step; it can damage the repair.
Then, use sandpaper to make the patched cracks even. Aim for a seamless blend with the surrounding plaster.
For long-lasting results, apply a coat of primer before painting over the patched areas. This will seal and protect the cracks, preventing more damage.
Smoothing And Sanding The Surface
To create a seamless finish on plaster ceiling cracks, smoothing and sanding are essential. Here's a guide to help you:
- Prepare: Repair cracks and remove any loose plaster. Clean the area to get rid of dust or debris.
- Apply joint compound: Spread a thin layer over the cracks with a putty knife. Feather it on both sides. Let it dry before moving on.
- Sand: Use fine-grit sandpaper or a sanding block for gentle, firm strokes. Blend repaired areas with the rest of the ceiling. Wipe away dust with a cloth.
Protect yourself by wearing goggles and a mask to avoid inhaling dust particles. Other tips:
- Multiple coats of joint compound if needed.
- Take breaks while sanding.
- Prime before painting.
For the best results, be patient and take your time!

Priming And Painting The Repaired Area
Repairing cracks in plaster ceilings? Here's what to do:
| Clean the area, removing dust and debris. |
| Apply a quality primer, using a roller or brush. |
| Once dry, sand the area with fine-grit paper. |
| Choose a paint color that matches the ceiling or something else. |
| Paint two coats, allowing each to dry before applying the next. |
| Remember to take safety precautions when handling tools or chemicals. |
| Follow these steps for a professional finish that blends in perfectly. |

Final Tips And Recommendations
For a perfect plaster ceiling repair, follow these tips! Get a seamless finish that'll last.
- First, clean the cracked area. No loose debris or dust.
- Choose high-grade plaster or joint compound. It'll stay strong and less prone to cracking.
- For larger cracks, use multiple thin layers. Not one big one. This helps it stick.
- Sand between each layer with a fine-grit sandpaper. Smooth out the surface.
- Prime and paint afterward. Match the color to your ceiling.
Keep your workspace ventilated. Take breaks too.
Don't miss out on an awesome restored ceiling! Follow these tips. Get results you'll be proud of. Start now and revamp your space with ease!
Conclusion
The quest to fix plaster ceiling cracks is complete! Our guide gave you the knowledge and skills needed. Prep is key - identify the cause, and get tools and materials. With focus and patience, you can restore the glory of your ceiling.
We discussed using plaster patching compound or joint compound to fill in gaps. Plus, why prime the surface before painting? By following these steps and safety measures, you get flawless results.
Factors like the size and severity of the cracks may need extra steps. Consulting a pro or seeking expert advice is a valuable option for challenging scenarios.
Ancient artisans mixed lime putty with other materials to create a durable plaster mixture for ceilings and walls. Over time, this evolved into the methods we use today to restore architectural beauty.
This guide gave you the knowledge and confidence to fix plaster ceiling cracks. Remember - attention to detail is vital for flawless outcomes. So, go forth and conquer them!
